

GPT Image 2.5 Flare vs Sunburst: Which Should You Use?
For GPT Image 2.5 Flare vs Sunburst, start with the job: Flare is the starting choice for fast everyday generation; Sunburst is the candidate for work where editing precision matters most. OpenAI describes Sunburst as taking longer to generate in exchange for additional precision. The practical question is whether that tradeoff helps you deliver an acceptable image with fewer revisions.
If you want to begin creating in a browser, you can now use the Image26 homepage image workspace to generate an image from a prompt or edit an uploaded reference. The comparison below focuses on choosing between the two GPT Image 2.5 API models; the task checklist also helps you review images in a browser workflow.
Flare vs Sunburst at a glance
| Decision point | GPT Image 2.5 Flare | GPT Image 2.5 Sunburst |
|---|---|---|
| Model ID | gpt-image-2.5-flare |
gpt-image-2.5-sunburst |
| Official positioning | Fast, high-quality everyday generation | Generation and editing with a focus on precision |
| First task to try — our recommendation | Explore several visual directions | Refine an asset with strict preservation requirements |
| Main question to measure | How quickly do you reach a usable concept? | Does the requested change preserve the details that matter? |
| Quality controls | low, medium, high, xhigh, max, auto | low, medium, high, xhigh, max, auto |
The model descriptions and quality controls come from the Flare documentation and Sunburst documentation. Task recommendations in this guide are editorial guidance for your own comparison.
Both accept text and image inputs. Choosing Sunburst does not remove the need for a clear brief, and choosing Flare does not restrict you to disposable drafts. Judge the deliverable against its requirements.
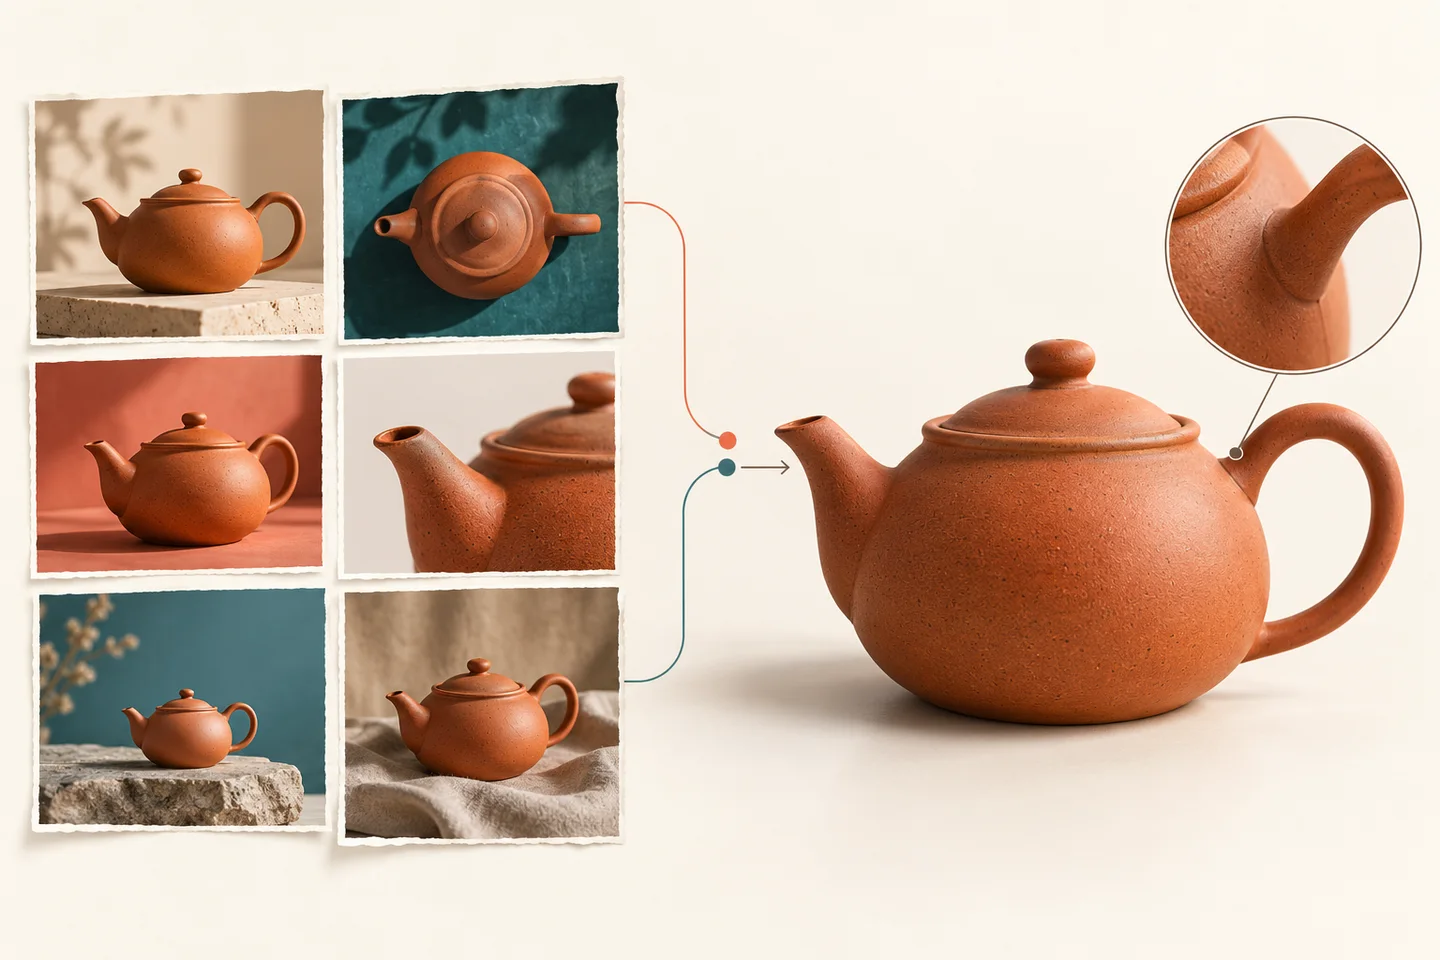
Concept illustration: exploring a direction and reviewing a finished asset. These are illustrative visuals, not comparative outputs from Flare and Sunburst.
Start with Flare when you are still choosing a direction
Suppose you need a product launch visual for a ceramic teapot. At the beginning, you may be choosing between a sunlit kitchen, a warm studio backdrop, and a close crop of the handle. Spending time refining the exact shadow is premature while the composition is still undecided.
Use that stage to answer a small creative question with each attempt. Keep the product reference fixed, then vary the setting or framing. Compare the options at the size where the image will appear, such as a mobile feed card.
A useful brief might be:
Create a square campaign concept using the attached terracotta teapot as the subject. Place it on a pale stone countertop in soft morning light. Leave the upper-left quarter clear for a headline added later. Keep the spout and handle fully visible. Do not add lettering or decorative objects.
This is an original starting prompt, not a reported test result. The useful output of this stage is a selected direction: a composition you want to develop. If Flare already gives you an image that meets the final brief, there is no need to switch models simply because the next stage is called “production.”
Try Sunburst when small changes decide whether an asset is usable
Now imagine the composition is approved. The next request is to change the background color without changing the teapot, handle opening, crop, or contact shadow. A beautiful image can still fail this task if the product shape changes.
OpenAI's Images 2.5 announcement emphasizes targeted edits and improved consistency across revisions. Those are useful evaluation dimensions for a precision-focused workflow.
For this stage, separate the change from the preservation requirements:
Change only the backdrop from pale stone gray to muted sage green. Preserve the teapot's silhouette, terracotta color, handle opening, spout angle, position, and crop. Keep the existing contact shadow. Add no objects or text.
Review the whole image after the edit, then inspect the handle, spout, and shadow at full size. Check what was meant to stay fixed as carefully as what was meant to change.
For a sequence of revisions, retain each accepted image. If a later edit introduces an unwanted change, restart from the last acceptable version and narrow the request. That gives you a clear recovery point instead of building more edits on an already damaged asset.
Compare the models with the same small set of jobs
Use actual work from your queue rather than an elaborate prompt that has little connection to your deliverables. A useful starter set contains three jobs:
| Job | Keep the inputs consistent | Acceptance rule |
|---|---|---|
| New campaign concept | Prompt, reference, output size, quality setting | Subject is recognizable; crop and copy space fit the brief |
| Targeted background edit | Same starting image and change request | Background changes; protected subject details remain acceptable |
| Revision sequence | Same starting reference and ordered edits | Each new instruction is satisfied without undoing accepted changes |
For the revision sequence, each model should continue from its own preceding result. For the isolated background test, give both models the same original input. These answer different questions: accumulated consistency and single-edit behavior.
Set your acceptance rules before looking at the outputs. Record the selected model, settings, elapsed time, request cost, and reason for rejection. Repeat representative jobs several times so one unusually good or bad result does not decide your workflow.
When reviewing, hide the model names if possible. It is easier to assess a broken silhouette or missing copy space when you are not trying to confirm which model you expected to win.
Compare cost per accepted image
As checked on October 30, 2026, both model pages list these Standard API token rates in USD:
| Token category | Flare, per 1M tokens | Sunburst, per 1M tokens |
|---|---|---|
| Text input | $5 | $5 |
| Cached text input | $1.25 | $1.25 |
| Image input | $8 | $8 |
| Cached image input | $2 | $2 |
| Image output | $30 | $30 |
Sources: Flare pricing and Sunburst pricing.
These are token rates, not fixed prices per picture. Identical rates do not establish identical request totals. For budgeting, record the billed usage from your own jobs, including retries.
A practical calculation is:
Cost per accepted image = total generation spend, including rejected attempts ÷ number of accepted images.
Track review time separately. A model that returns quickly can still create more work if you spend longer finding an acceptable result. Conversely, a longer generation is unnecessary when a quicker result already passes every requirement. For interactive work, measure total time from starting the task to accepting the image.
Choose a default for each kind of work
Our recommendation is to use Flare as the first candidate for concept exploration and everyday image tasks. Evaluate Sunburst first for narrow revisions with expensive failure conditions, such as a product shape that must remain recognizable through several changes. Then let your acceptance records decide which becomes the default for each task category.
You can also use the same brief-and-review method in the Image26 image editor. Upload your reference, describe one change, list the details to preserve, and inspect the result before continuing. For more help structuring localized instructions, see the visual editing guide.
Keep the approved source and the revision history with the final file. The next time you need a new crop or background, you will have a reliable starting point and a clear record of what passed review.