

GPT Image 2.6 vs GPT Image 2.5: Workflows, Editing, and Cost
For GPT Image 2.6 vs GPT Image 2.5, start with the way you want to create. You can now generate and edit images directly on the GPT Image 2.6 homepage at image26.com: enter a prompt for a new visual, or upload a reference and describe a change. For an API workflow, GPT Image 2.5 offers Sunburst and Flare with their own model identifiers and token-based billing.
This guide compares the Image26 browser workflow with GPT Image 2.5 API options, then shows how to judge editing results and production costs for your own projects.
Compare the workflows at a glance
| Comparison point | GPT Image 2.5 API | GPT Image 2.6 workspace on image26.com |
|---|---|---|
| Where to start | Choose Sunburst or Flare in your API integration | Open the homepage image workspace |
| Creating a new image | Send a text prompt through the API | Choose Text-to-Image and describe the visual |
| Editing an existing image | Send source images and editing instructions | Choose Image-to-Image, upload a reference, and describe the change |
| Editing controls | Configure the supported request parameters | Use the selected option's on-page settings and available selection controls |
| Cost display | Token-based rates and recorded request usage | Credits displayed for the selected settings before generation |
| Best workflow fit | Applications and automated image pipelines | Creators who want to work directly in a browser |
Choose according to the work in front of you. A creator preparing a product image can start in the homepage editor; a developer building image generation into an application can configure an API workflow.
Start by separating the two GPT Image 2.5 options
“GPT Image 2.5” covers more than one choice. OpenAI describes Sunburst as the option for workflows where editing precision matters, while Flare is positioned for fast, high-quality everyday image generation.
For a catalog image where the product's silhouette and packaging matter, Sunburst is a sensible candidate to evaluate first. For frequent concept exploration, Flare's stated focus makes it a sensible starting candidate. You still need to check whether either produces acceptable results on your inputs.
Record the exact variant when saving a baseline. A folder labeled only “2.5 results” leaves an important variable unspecified. If you later compare 2.6 against that folder, you may not know which workflow you are actually trying to improve.
Give local edits a clear target
The image-edit API reference describes markup as a transparent PNG overlay for the first source image. It must match the source dimensions after orientation, include transparent pixels, and not be combined with a mask in the same request. The description names both 2.5 and 2.6.
In the Image26 browser workflow, use the available selection controls to identify an area and pair it with a written instruction. Describe both the change and the details to preserve. Keep the original image so you can compare the whole result afterward.
For a useful editing comparison, separate three questions:
- Did the model change the correct object or area?
- Did it make the requested change accurately?
- Did it preserve the details that mattered outside that change?
A result can succeed on one and fail on another. A beautifully recolored bottle is still unsuitable for a product listing if its cap or label changed.
Compare the same deliverable, not two impressive pictures
Use a small set of tasks you actually perform. For example, a skincare brand might need a product backdrop, a label correction, and a campaign composition. Pick source files you have permission to use, freeze the requested wording, and write the acceptance conditions before generating.
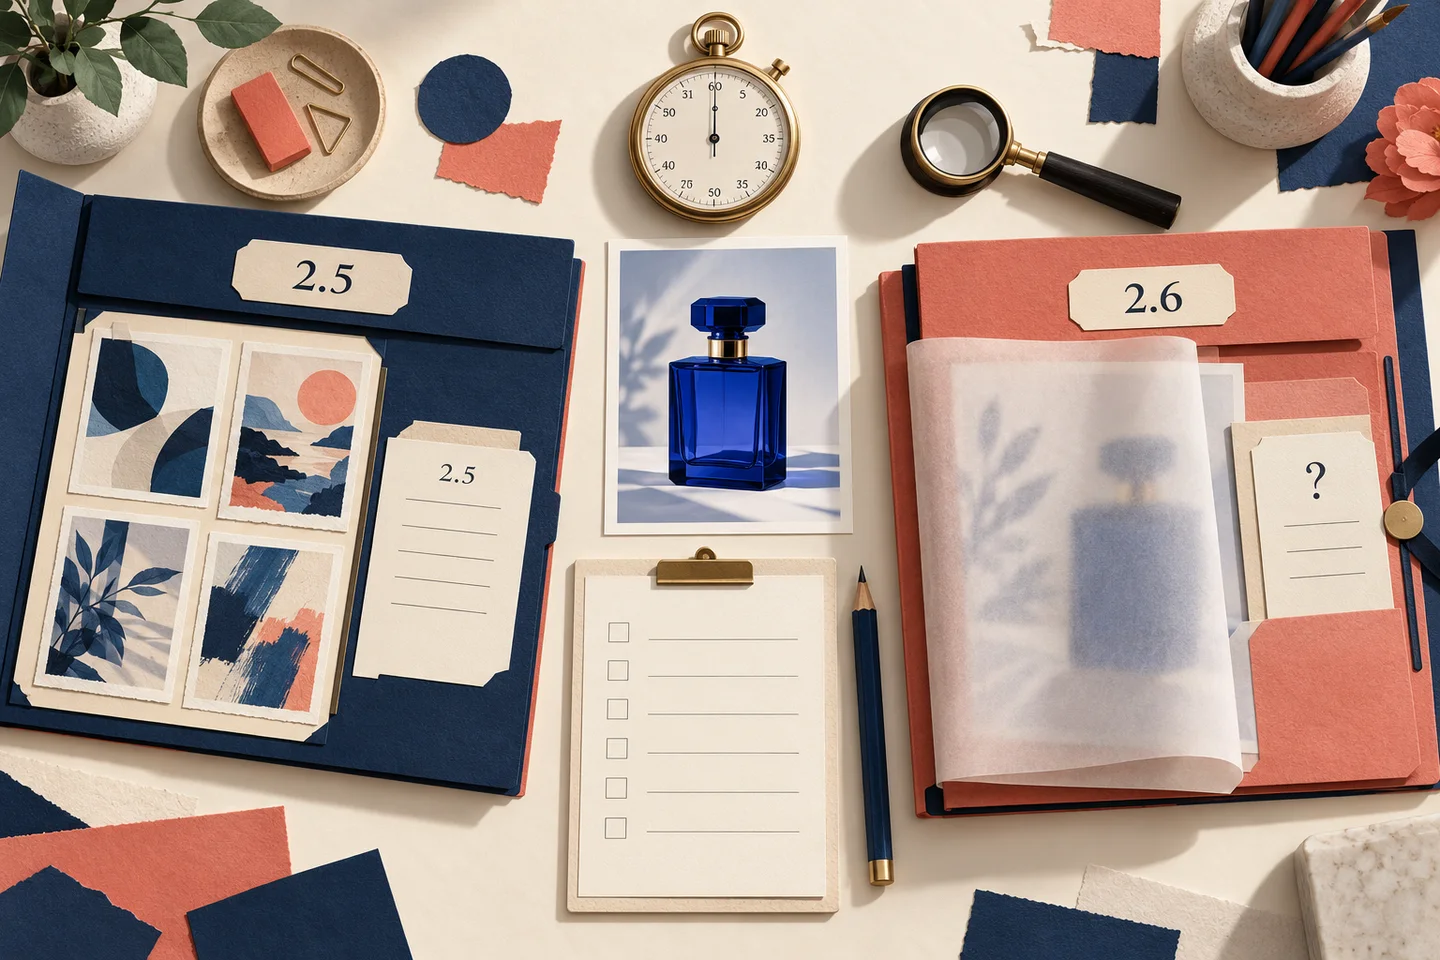
Generated editorial concept illustration. The portfolios represent a comparison process, not model outputs or measured performance.
Use these three tasks to organize your comparison:
| Task | Keep constant | Inspect before accepting |
|---|---|---|
| Change a product backdrop | Same source bottle, requested setting, and output proportions | Bottle shape, label, edges, and contact shadow |
| Replace a short heading | Same source layout and exact replacement words | Spelling, punctuation, alignment, and unrelated text |
| Develop a campaign image | Same creative brief, reference assets, and target placement | Composition, product identity, useful space for copy, and distracting artifacts |
Use the same revision allowance for each candidate. Comparing one first attempt with another model's tenth attempt hides the time and cost of reaching that result. Save unsuccessful outputs too; otherwise your review becomes a selection of highlights.
Choose settings that are comparable and document anything that cannot be matched. If one model offers a setting the other does not, report that as a workflow difference. Do not silently compensate with extra references or a larger output on one side.
For a straightforward scorecard, use accepted, needs revision, or rejected, with a short reason. You do not need an elaborate numerical rating to notice that a label is wrong or a product edge is distorted.
Compare cost per usable image
The two GPT Image 2.5 model pages list the same standard token rates: $5 per million text-input tokens, $8 per million image-input tokens, and $30 per million image-output tokens. These are token prices, not fixed prices for a finished picture. Check the linked model pages for current processing and caching rates before budgeting.
To connect generation costs to finished work, calculate:
Cost per accepted image = total generation spend in the trial ÷ number of accepted images.
For example, spending $6 to obtain 12 accepted images gives $0.50 per accepted image. Spending $4 to obtain four accepted images gives $1.00. These are hypothetical arithmetic examples, not prices or measurements for either model. If a trial produces no accepted images, report that outcome rather than dividing by zero.
Track human review and correction time alongside spend. You may prefer an output that costs slightly more to generate if it avoids repeated layout or label repairs. That is a decision about your production process, not an assumption that one version is universally better.
On image26.com, review the credit requirement displayed for your selected settings and check plans and credit packs. Site credits and upstream API token prices are different cost measures; neither should be substituted for the other in a comparison table.
Start creating on the homepage
You can use the GPT Image 2.6 homepage now to create a new image or edit an existing one:
- Open the image workspace and sign in.
- Choose Text-to-Image for a new visual, or Image-to-Image to upload a reference.
- Describe the subject, composition, and style, or specify what to change and preserve.
- Review the selected option, output settings, batch quantity, and displayed credit cost.
- Generate, inspect the result, and download the version that fits your project.
For example, upload a product photo and ask for a pale stone background, soft daylight, and room for a headline. Specify that the packaging, label, and product proportions should remain consistent. Check those details before using the image in a campaign.
If you already use GPT Image 2.5 through an API, keep your existing prompts and accepted outputs as a reference when comparing workflows. Record the exact variant, settings, total spend, and time spent on corrections. Choose the workflow that delivers usable images with a manageable amount of revision.
For browser-based work, start with your first image on the homepage. For application development, use the linked Sunburst and Flare documentation to configure your API requests.
Product information and source links checked October 30, 2026.